Figma to HTML: How to export a Figma design into HTML3 min read
Reading Time: 4 minutesIf you’re wondering how to convert Figma to HTML & CSS without writing the code yourself, you’ve come to the right place. In this article, we’ll show you how to export your Figma designs as production-ready HTML in a few simple steps using Anima.
Anima lets you create high-fidelity code-based prototypes in Figma, Adobe XD, and Sketch, then export those prototypes as developer-friendly code in just a few clicks.
Going directly from Figma to HTML will allow you to create live web-based prototypes, deploy your own simple websites or landing pages, and hand developers clean code packages for the entire UI to speed up development.
Are you a visual learner? Here’s Figma to HTML YouTube tutorial.
How to convert Figma designs to HTML
You can export a complete HTML code package or get an individual component/screen code from your Figma design:
- Export full HTML flows from Figma, with multiple screens and links
- Copy or export HTML code snippets from Figma’s Dev Mode or Edit Mode
Export full HTML flows from Figma
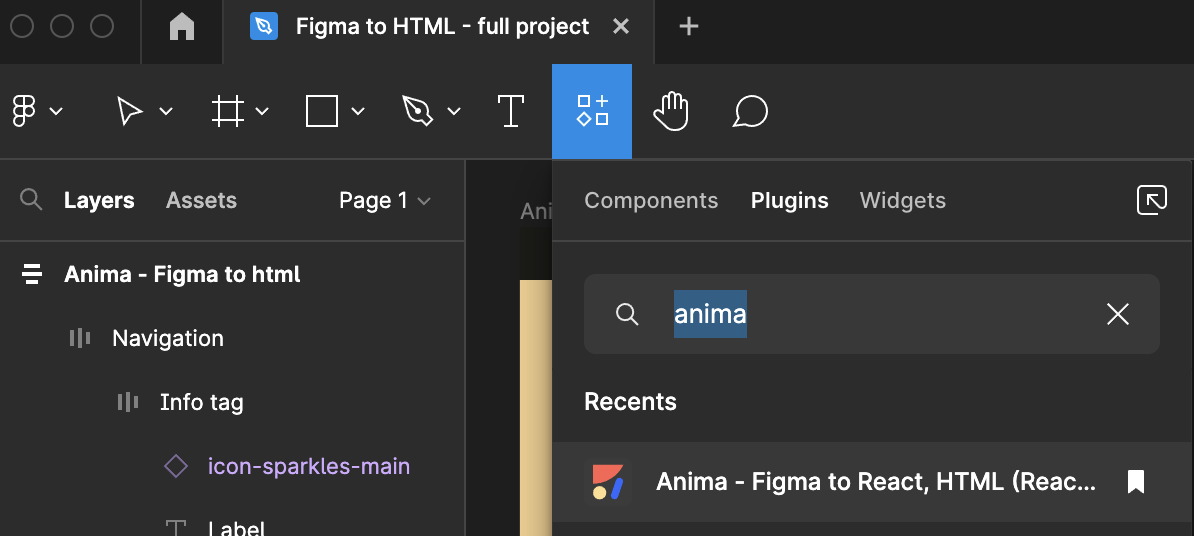
Step 1: Run Anima’s Plugin in Figma’s Edit Mode
First, open your Figma project in Edit Mode (the main mode) and run Anima’s plugin.
Step 2: Select a screen, and click “Get Code”
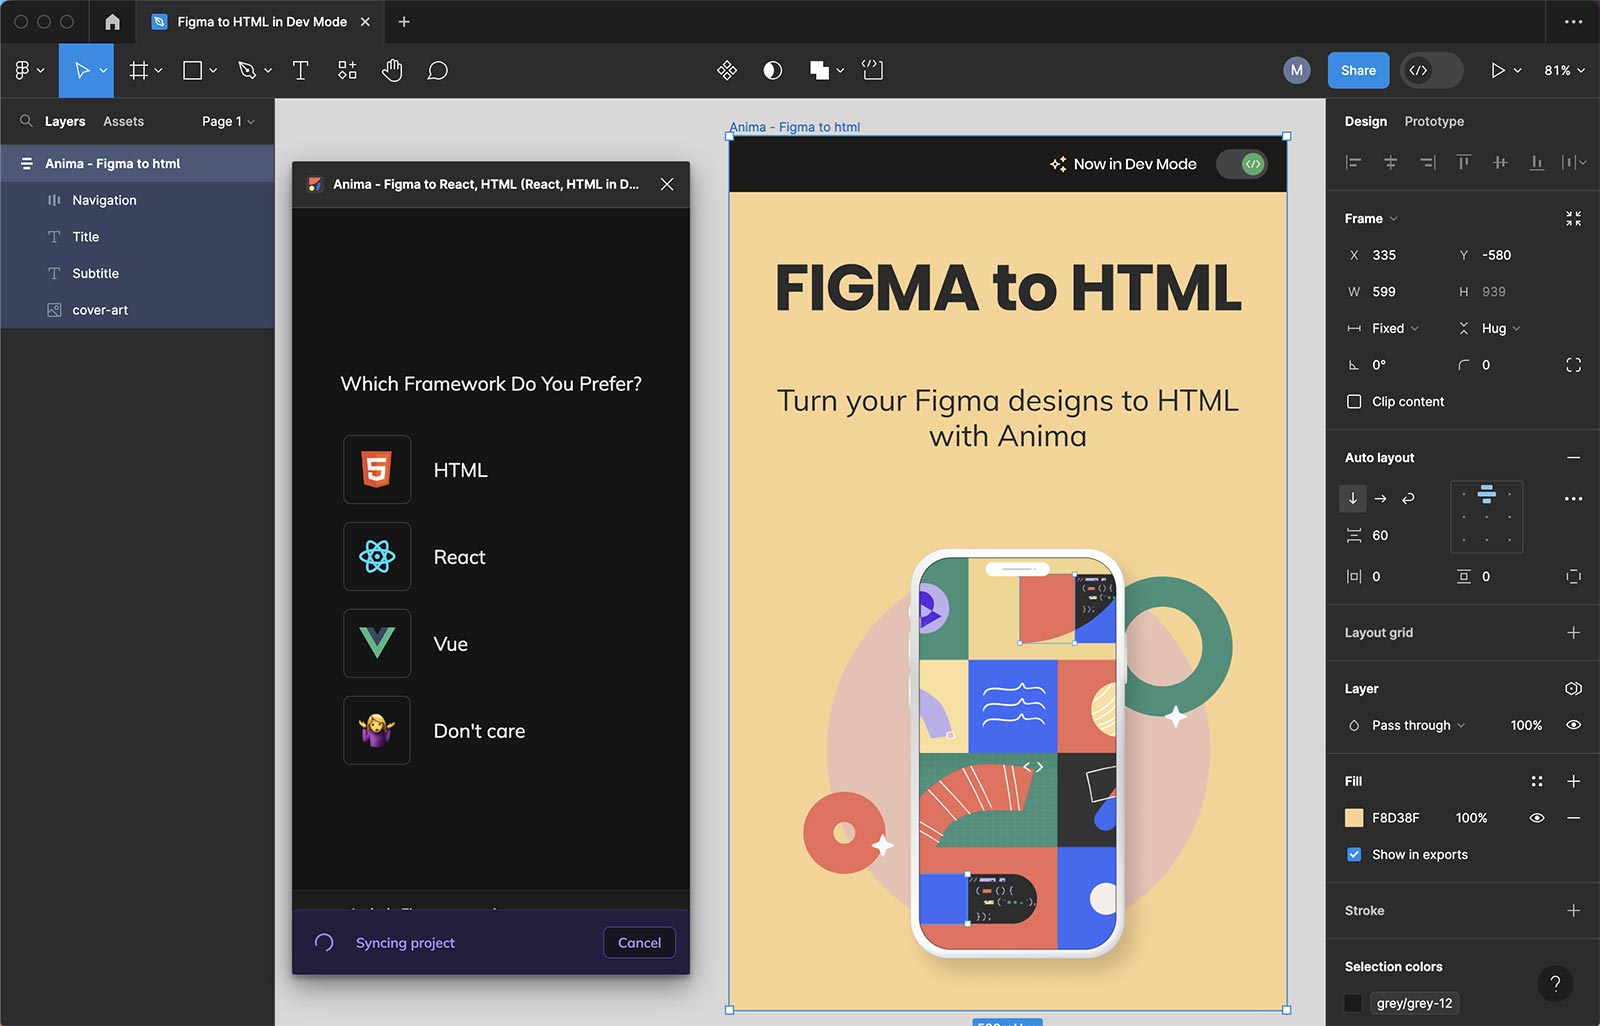
After clicking “Get Code”, select “HTML” (React / Vue code packages are also available).
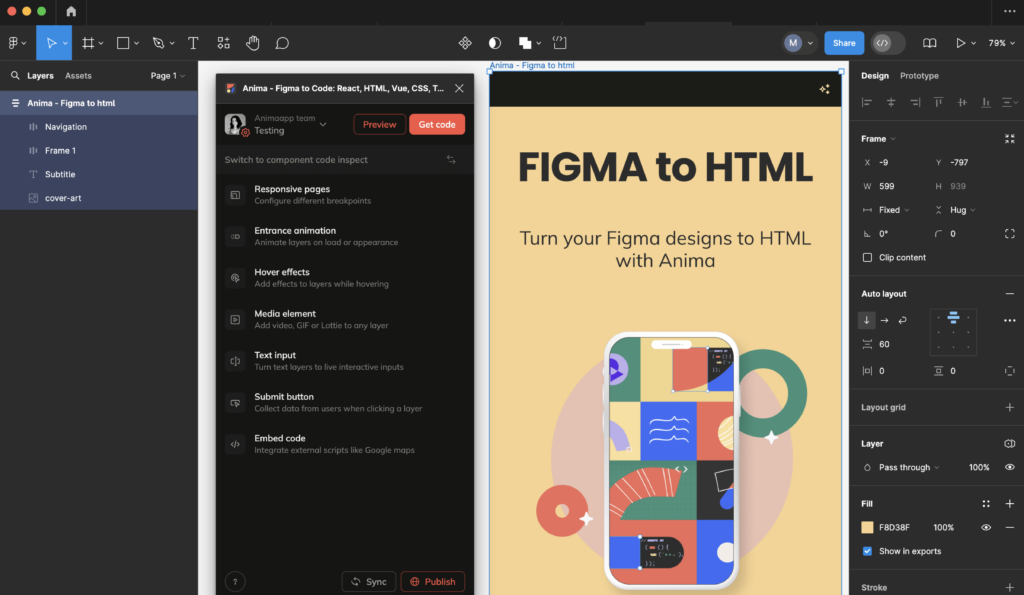
When your design is successfully synced to Anima’s web app, you will get notified in the Anima plugin.
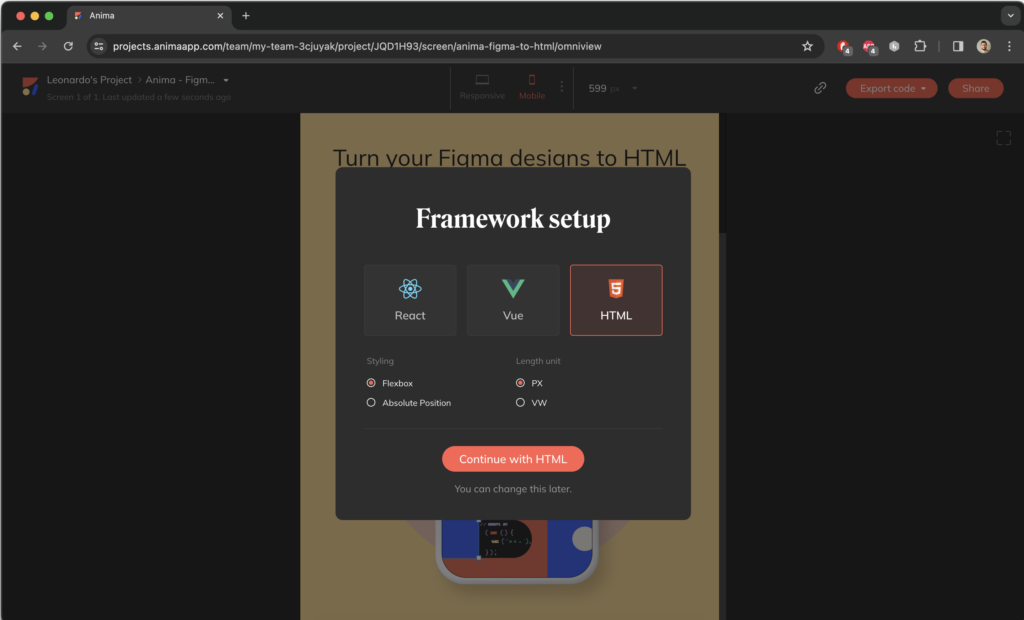
Click “Go to Anima” to open a browser tab with a preview of your Figma design, then click “Export code” → “Download”
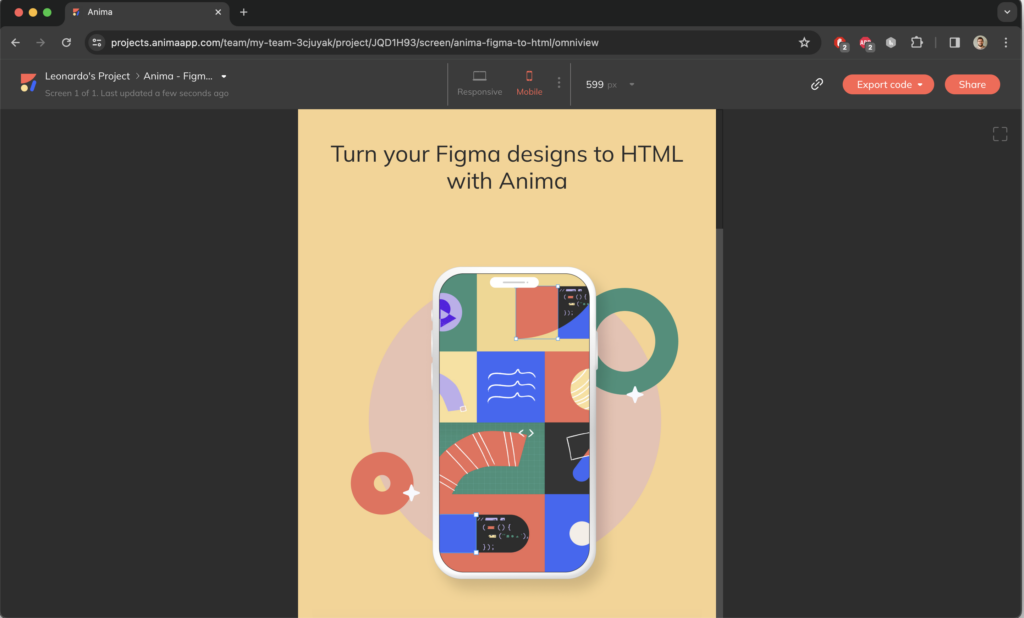
In order to change the code framework, click the settings icon under “Export code”
What’s in the Code Package?
The downloaded Code Package is saved on your computer as a zip file in your selected location. In this zip file, you can find all the files for your design (this includes the HTML, CSS, images, and fonts files).
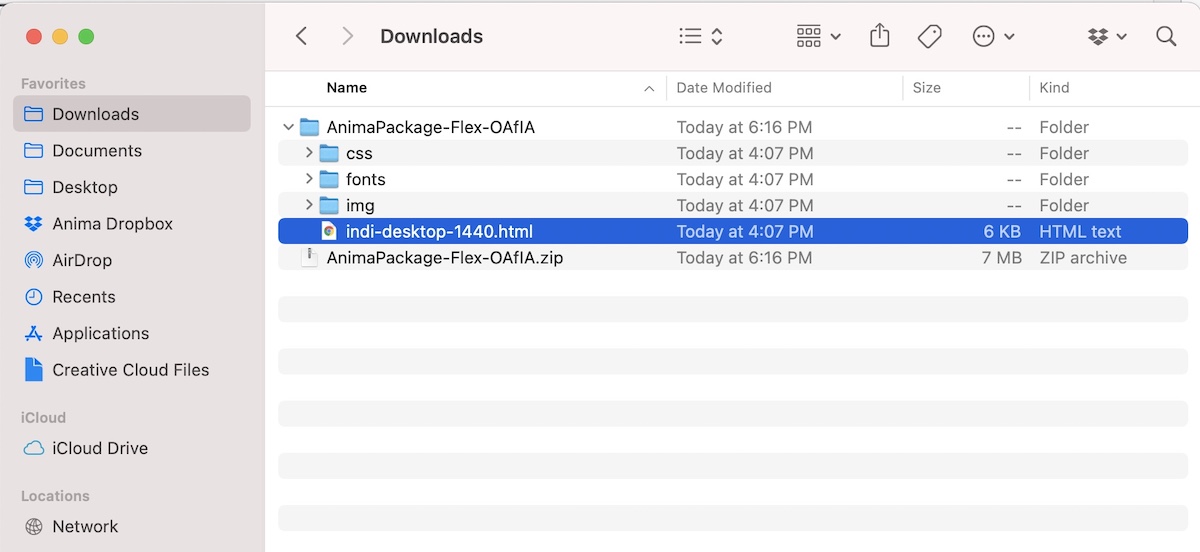
Once the files are unzipped, you can preview them locally in the browser by double-clicking the HTML file. You’ll be able to see all of your responsive elements and interactions, just like the final product!
Opening the files in a text editor will present to you a well-structured HTML and CSS code.
- For every Frame/screen, Anima produces both HTML & CSS files.
- The screens with Breakpoints (Multiple layouts per screen size) share the same HTML & CSS file and use CSS media queries.
- Assets and fonts are included, and your code is ready to run or deploy.
Copy or export HTML code snippets directly in Figma
Step 1: Run Anima in Figma (Edit or Dev Mode)
Open Anima’s plugin in Edit or Dev Mode.
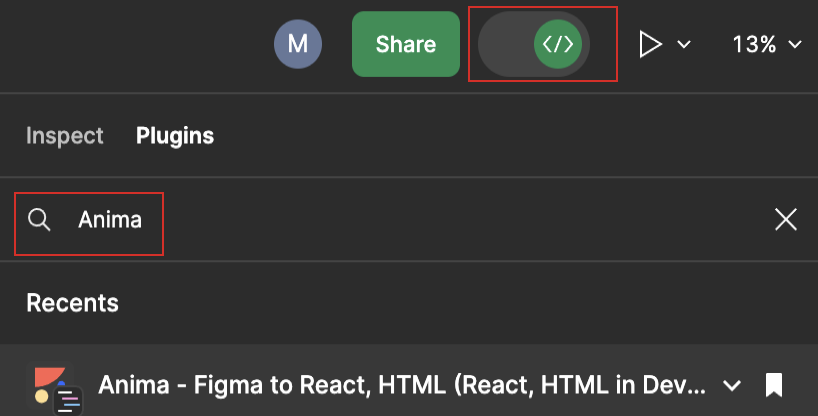
Step 2: Select a Figma Component, Layer, or Frame to get code
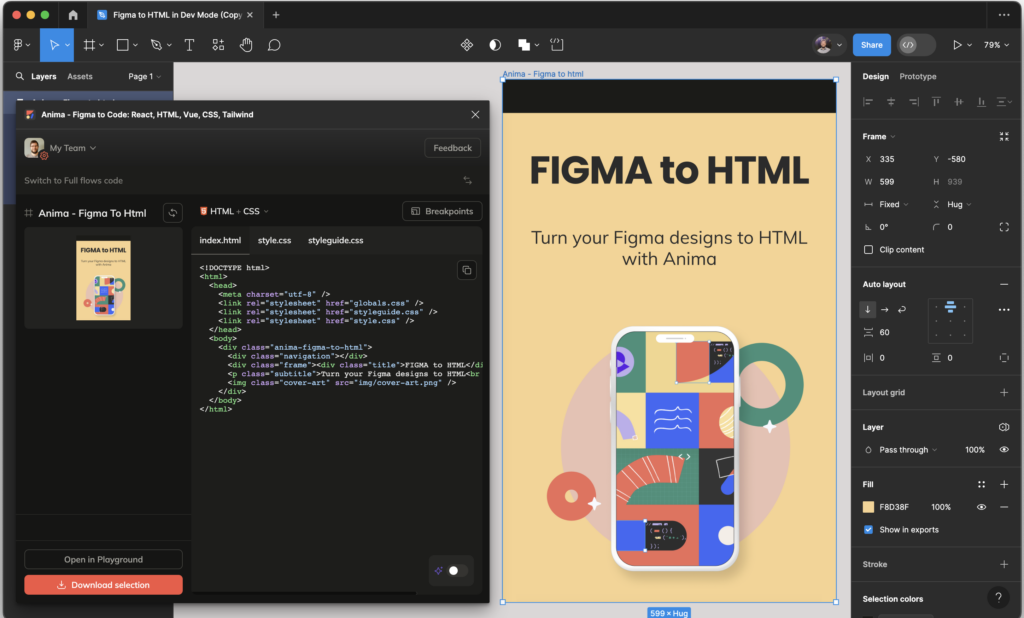
Select any Figma component, layer, or frame to get its corresponding HTML code in the right panel. You can then copy the code from the panel, open it in Anima’s online playground, or download the code package.
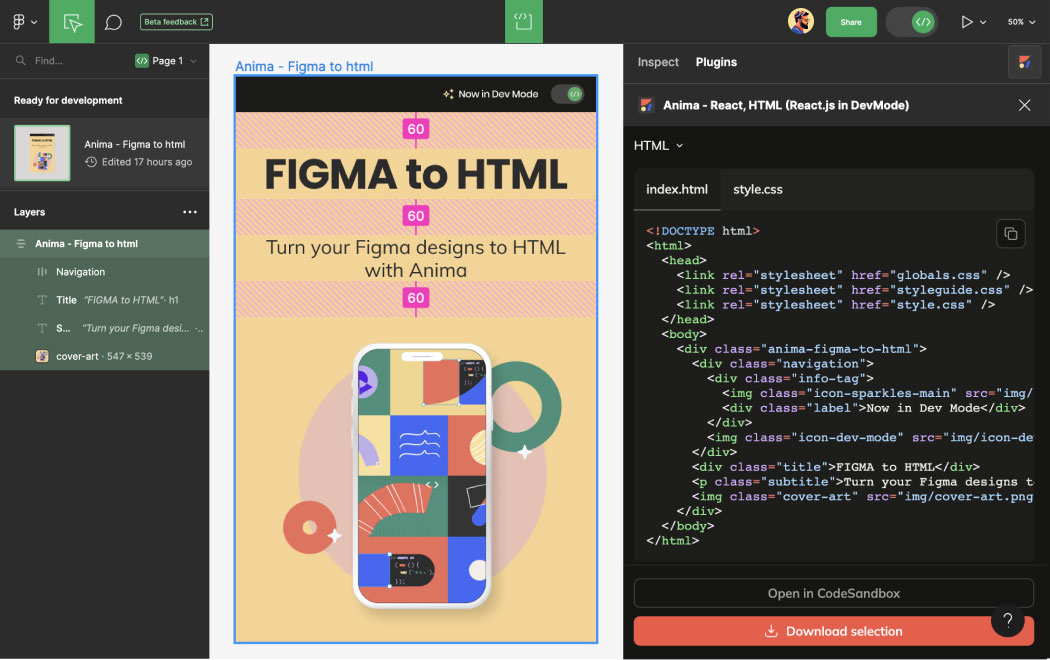
This option is the fastest and the most straightforward for individual components and screens.
It is perfect for developer handoff since Dev Mode is accessible in Read Only.
How it looks in Figma Edit Mode
Run the Anima Plugin in Figma’s Edit Mode using the “Switch” button
Gen AI code personalization – Prompt right inside Figma
In the inspect panel on both Edit Mode and Dev Mode, you will see a toggle to open the AI code personalization. You can ask Anima to code according to your own coding conventions, add animations, or even a basic logic, by simply typing your request.
Learn more about Figma to code with AI code personalization:
- Full guide: Figma to Code with AI Personalization.
- GenAI Figma to Code: 6 Examples of how to use Anima’s new AI Code Customization
Ready to export production-ready HTML code for your Figma designs?
Welcome aboard, let’s get you going!


 Figma
Figma Adobe XD
 Sketch
 Blog
Blog